The Nureva® HDX series is coming soon.
Technical support articles are being prepared ahead of HDX availability and may be updated as features, functionality and guidance evolve.
Advanced microphone settings are available with Nureva HDX systems. These settings can be useful for fine-tuning the audio and improving intelligibility for remote participants.
Available microphone settings
Three frequency gain adjustments (low, mid, high)
Option to apply the gain uniformly across the frequencies
Adjusting microphone settings
Nureva App
Connect to the HDX system using the Nureva App.
Go to Settings.
Open the Microphone page.
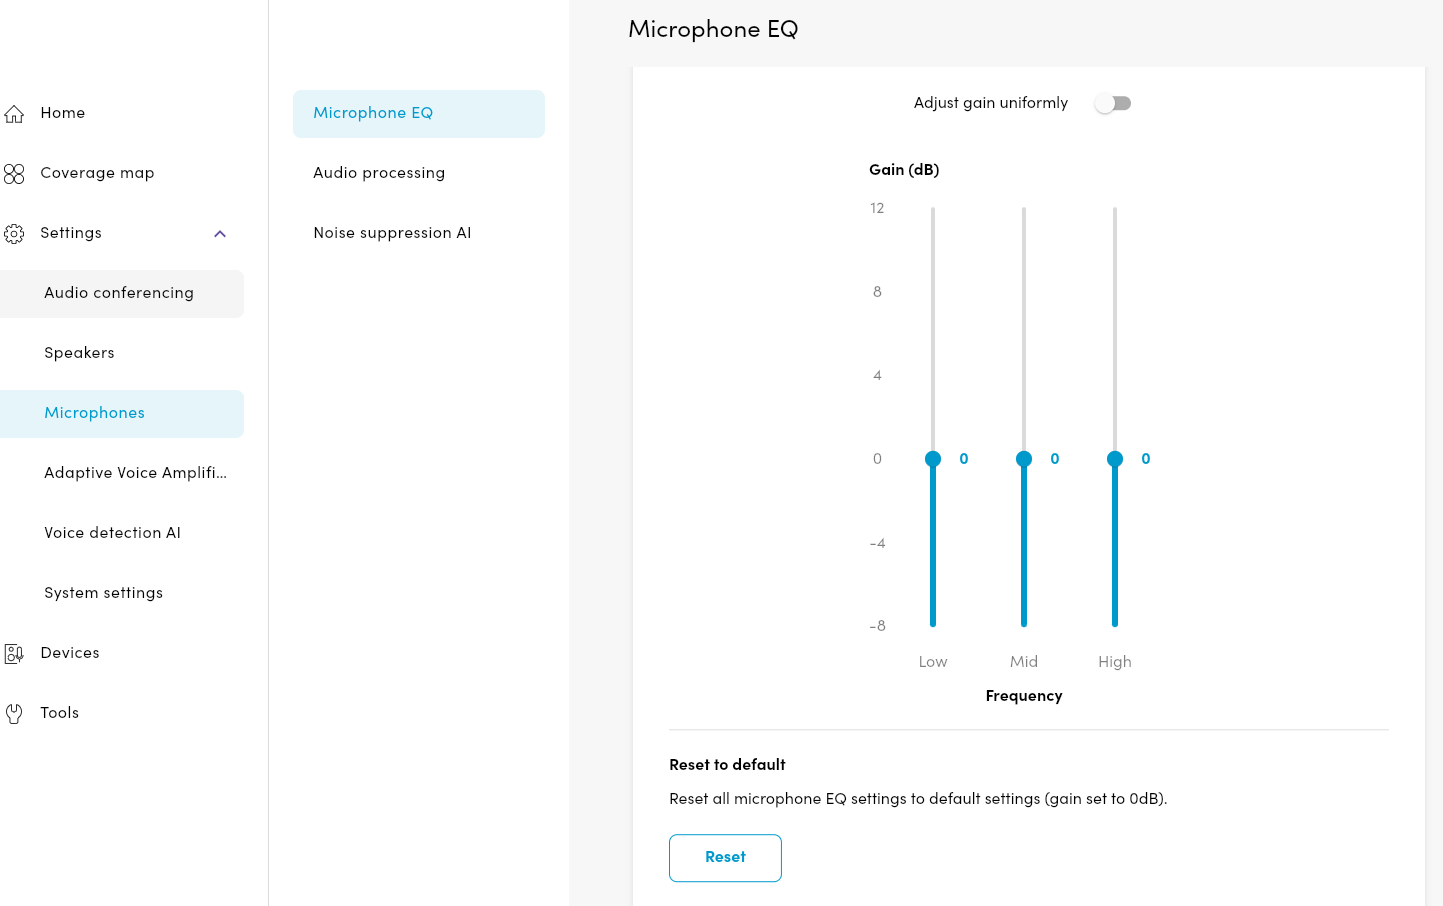
Select Microphone EQ:
Move each slider down to reduce the low-, mid- and high-frequency gain.
Move each slider up to increase the low-, mid- and high-frequency gain.
Switch on the Adjust gain uniformly toggle to move all frequency sliders at the same time.
Nureva Console
Go to the sign-in page for Nureva Console and log in.
Find the room with the HDX system and select the HDX device.
Open the Settings menu.
Open the Microphone menu.
Move each slider down to reduce the low-, mid- and high-frequency gain.
Move each slider up to increase the low-, mid- and high-frequency gain.
Switch on the Adjust gain uniformly toggle to move all frequency sliders at the same time.
How it works
Low, mid and high frequencies
The microphone gain setting offers a three-band equalizer with low-, mid- and high-frequency sliders. The microphone gain can therefore be adjusted for each frequency range. The default setting is 0 dB and the range is from -8 dB to 12 dB.
Adjust gain uniformly
By enabling this setting, all three sliders can be adjusted at the same time for the overall gain. The default setting is 0 dB and the range is from -8 dB to 12 dB.
Reset to default
Pressing the Reset button returns all of the microphone settings to default and the overall gain back to 0 db.
What it does
With the microphone gain setting, adjustments can be made to the volume of the processed microphone signal sent from the HDX system to the connected computer. Through low-, mid- and high-frequency adjustments, finer tweaks can be made to address issues in tonal quality. By adjusting the frequency response of the microphone signal, clarity can be improved, unwanted noise reduced and overall sound quality enhanced. With these settings, you can boost or cut specific frequency ranges to achieve tonal balance.
When to use it
Improving microphone tonal quality
Low-, mid- and high-frequency adjustments are sometimes necessary when fine-tuning the microphone audio quality, troubleshooting common microphone pickup issues and improving overall intelligibility of the microphone pickup. When experiencing muddy audio, it is recommended the low-frequency setting is reduced. For bright audio situations, it is recommended the high-frequency setting is reduced.
Improving overall microphone gain
When a UC&C client takes control of the microphone volume at the operating system level, the result can be the far-end audio being too loud or too quiet for remote participants. Switching the Adjust gain uniformly toggle on and adjusting all three sliders up or down can help level out the volume.